
How to Refinish Scratched & Rusted Appliances

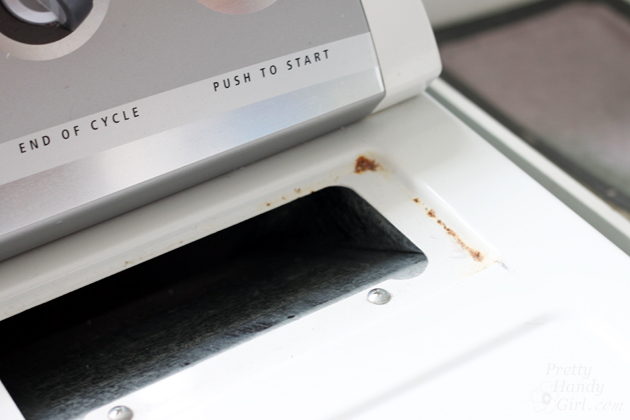
Do you have an appliance that has scratches and/or rust spots? Unfortunately over time the rust will get worse if you don’t deal with it.

Today I want to show you how to refinish scratched and rusted appliances so you can extend the life of your appliances and make them look almost like new again.

Before you get ready to tackle this project, you’ll need to order spray paint specifically for your appliance. If your brand doesn’t carry a touch up spray paint you can try the universal spray paint by Rustoleum. Or buy the liquid touch up paint and only paint the rust spots.
Be aware that all white paint is not the same color. However, typically the colors are usually the same within a specific brand. (i.e. All Whirlpool white appliances are painted with the same white.)

Materials:


Instructions:
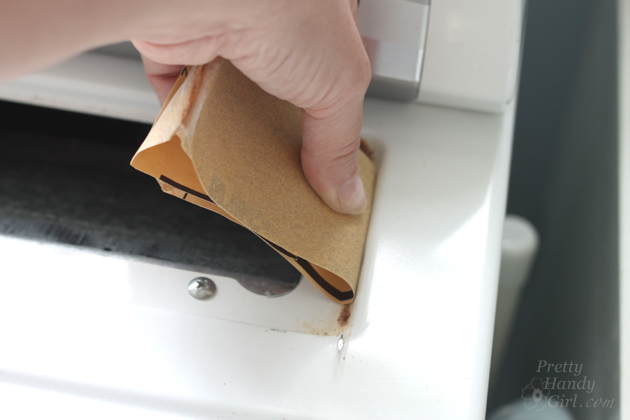
Begin by sanding any rust spots down to the metal. Sand the entire surface lightly to minimize scratches.


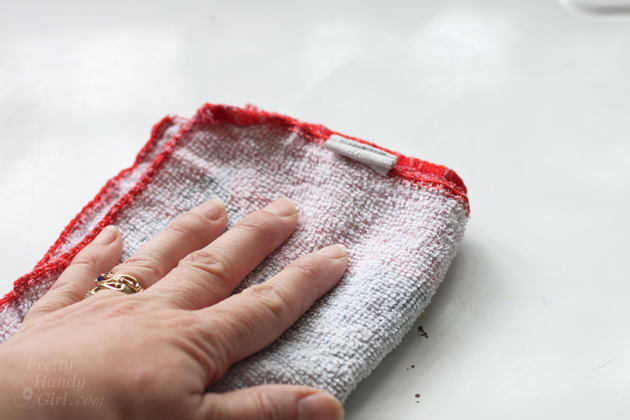
Vacuum up any sanding dust and dirt.


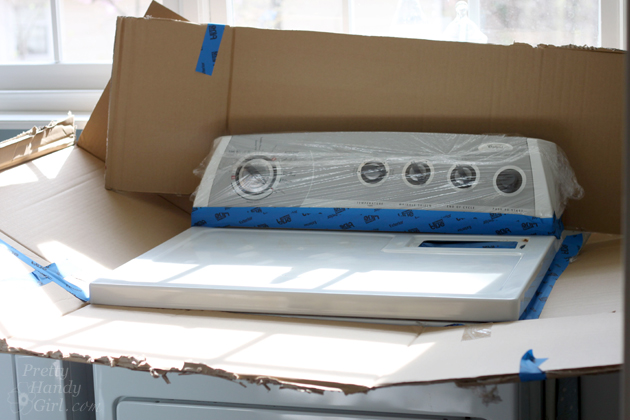
If you can drag your appliance outside, that’s the best way to spray paint it. But, if you can’t, you can mask off an area around your appliance with cardboard and newspaper. You can also use saran wrap to mask off tricky areas.

If you are working inside, crack a window and open a door. Use a fan to pull air away from your work area. Send the kids and pets outside if you are painting indoors.

Put the respirator mask on. Spray the appliance with the spray paint. Use back and forth strokes that extend off the appliance and onto the masked area. If you stop at the edge you’ll have puddles of paint. A light coat is all you need for your first coat.

Allow the first coat to dry. Repeat with another light coat of spray paint. You will need 3-4 coats.
The appliance spray paint I used had a flat finish and appeared splotchy after several coats. To even the appearance and add a sheen, you should finish with a clear top coat.

After the spray paint has dried, very lightly sand the whole surface.

Spray a light coat of Clear finish onto the appliance. Allow it to dry and follow up with 1-2 more coats.

The final result is a smooth finish that looks almost like new. If you get super close, you can see some imperfections, but the rust has been stopped and the scratches are gone.

Do you have an appliance that needs a facelift? Need to stop the rust? Try this easy tutorial for refinishing rusted and scratched appliances.

